Perfect packing is an art. It may seem simple enough – throw what you need into a suitcase and go! But a little more thought and effort as you pack can translate to an easier, well-prepared, and organized trip. Major positive effect!
Long-term, budget travelers like me especially have to take many factors into consideration. I pack in a carry-on size bag no matter how long I am traveling and what variations in weather I am likely to encounter. At the moment, for example, I am on an indefinite multi-month trip visiting destinations with temps ranging from 40 to over 100*F (4 to 40*C).
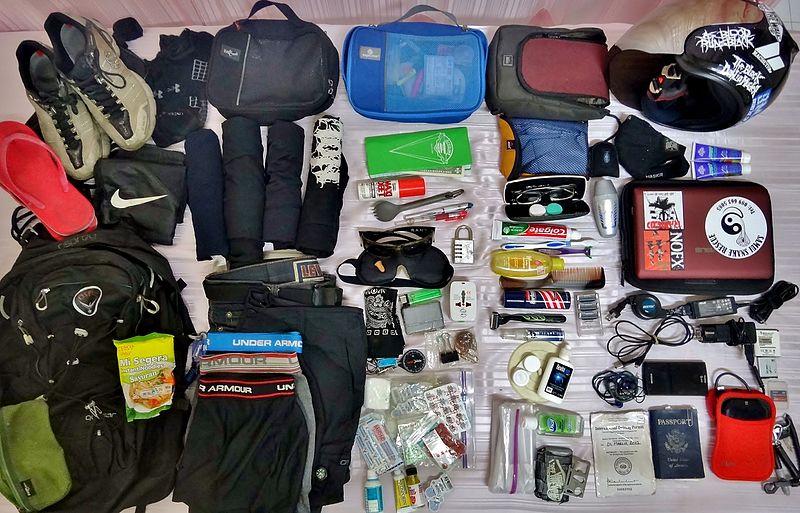
When I packed for this adventure, I had to consider what I needed and what I really didn’t need. Then I had to figure out how to make it all fit in my 22in x 14in x 9in (56cm x 35cm x 22cm) bag. Plus, as a frugal traveler, I wanted to attempt to keep it under 10kg (22lbs), which is a common weight limit for carry-on suitcases on budget airlines. Impossible, you say?! Nah.
This minimal packing style is not for everyone but it can be done. Here are five easy steps to perfect packing every time! Not a super minimalist traveler? These tips still apply, just not to an extreme. They will help you stay organized and prepared for whatever your travels bring.
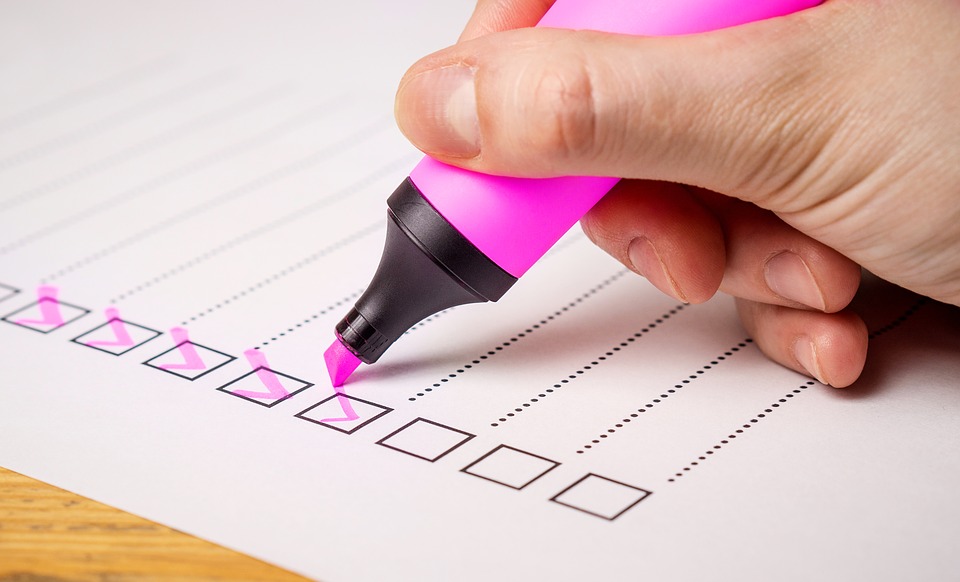
1. Create a List & Use It
Lists are a great way to stay organized and ensure you don’t forget anything, either when you leave home or when changing destinations along the way. They’re also a good visual of how many things you are bringing and what you may not need. There are 2 methods I like to use when creating a packing list.
The first is to start with listing what you think you need and then choosing specific clothing and gear to fit your list. Think about the weather you are likely to encounter and the activities you are likely to do. Will you be hiking? You’ll need some more sporty gear. Planning to go out on the town? Dressier items might be in order. Visiting temples/churches? Make sure you have some conservative clothing to show respect.
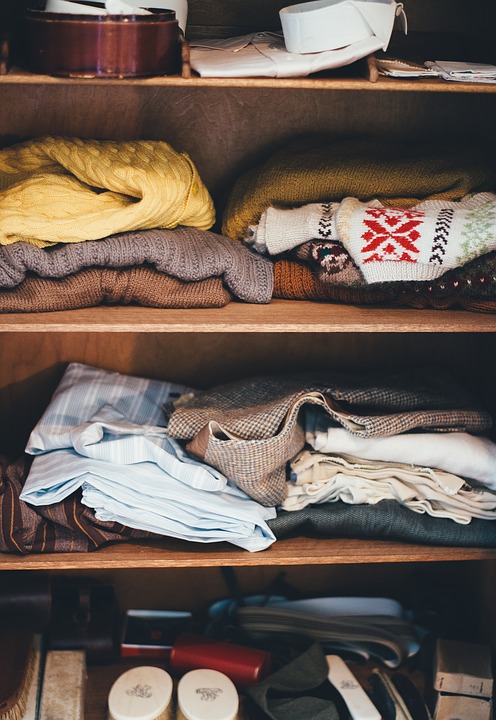
The alternative method I like is to pull out all the clothing and gear you think you might need/want and pile it up on a table/bed/floor. Separate it into categories: tops, bottoms, swimwear, electronics, toiletries, etc. Then go through it with the same criteria in mind, pare it down to what you really need (more on that in #2!), and create your list from there.
I find writing out what you are actually bringing gives you a better perspective on what you have and what you really need. Don’t be afraid to alter your list, either! I’m always adding and subtracting items as I decide what I actually need/want to take. Once you make your final decisions, create a final, accurate list and bring it with you. You can use boxes to check off when you actually put something into your suitcase. This makes it easy to see what you might have forgotten.
When you sign up for my newsletter, you get access to my Ultimate 3-Season Carry-On Bag Packing List. Print out this list and follow it, or use it as a jumping off point to create your own, tailored to your needs and travel style.
2. Minimize
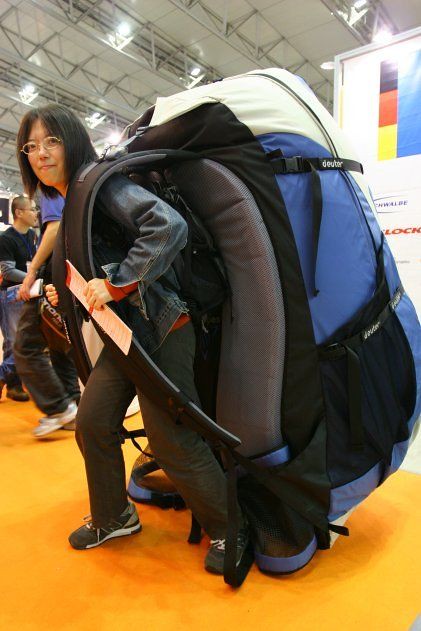
Minimizing is a necessity when packing carry-on only but it can be very helpful even if you check a large bag. Like a lot of women especially, I am often guilty of bringing way more than I actually need. I like to have options and complete outfits. You never know what you’ll feel like wearing. When I bring more variety, however, I find there are always several pieces that I never wear or only wear once. And I easily could have worn something else that one time. Hauling around a huge, heavy bag can be super inconvenient and negatively impact your travel experience.
So, how to minimize?
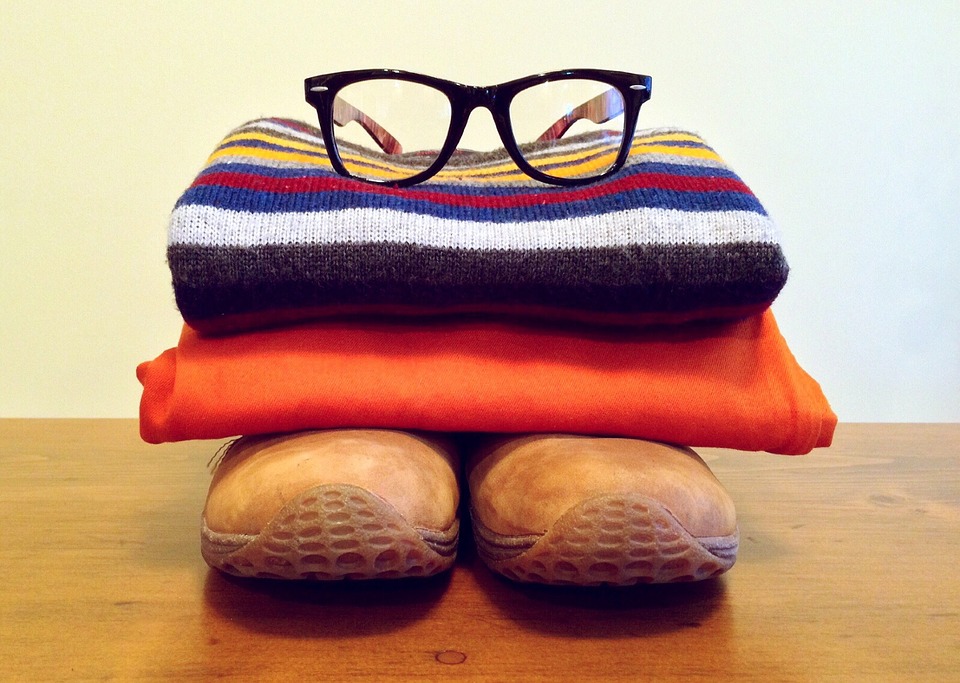
Start with one outfit/item for each situation you might encounter. One pair of pants, one pair of shorts, one skirt/dress. One good pair of walking shoes, one dressier pair (if your trip requires it). One jacket, one tank top/singlet/sleeveless top, one tee/short sleeve shirt, one longer sleeve. Once you have a base of everything, you can add a second/third item here and there in the categories you will use the most.
Make sure everything goes with everything else. If you can wear any of your tops with any of your bottoms, you can create quite a variety of outfits for a variety of situations with a very minimal number of actual items. Sticking to more basic colors or to one general color scheme is helpful in this regard. Plus, it makes it easy to layer up on cooler days rather than bringing a lot of heavy, warm clothing.

Choose multi-functional items. Being able to use the same piece of clothing or toiletry item for different purposes or different styles, means one less thing you have to pack. Check out my posts on the best versatile travel clothes and carry-on friendly toiletries for some great ideas.
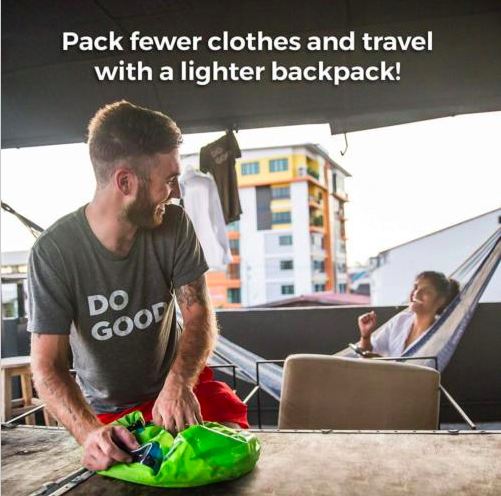
I always plan to do laundry regularly along the way. Lightweight clothes (see #4) are easy to wash out in the sink and dry overnight to wear again the next day. I love my Scrubba wash bag for DIY laundry. It’s so much easier and more effective than your hands! Or hit a local laundromat, or choose accommodation with machines available, to spend a few bucks to wash and dry.
3. Roll
Once you have all your clothes picked out, it’s time to make them fit as neatly and compactly as possible in your suitcase. This is where rolling comes in very handy. Rolled clothes take up less space and are easier to fit into all the nooks and crannies of your bag than folded clothes.
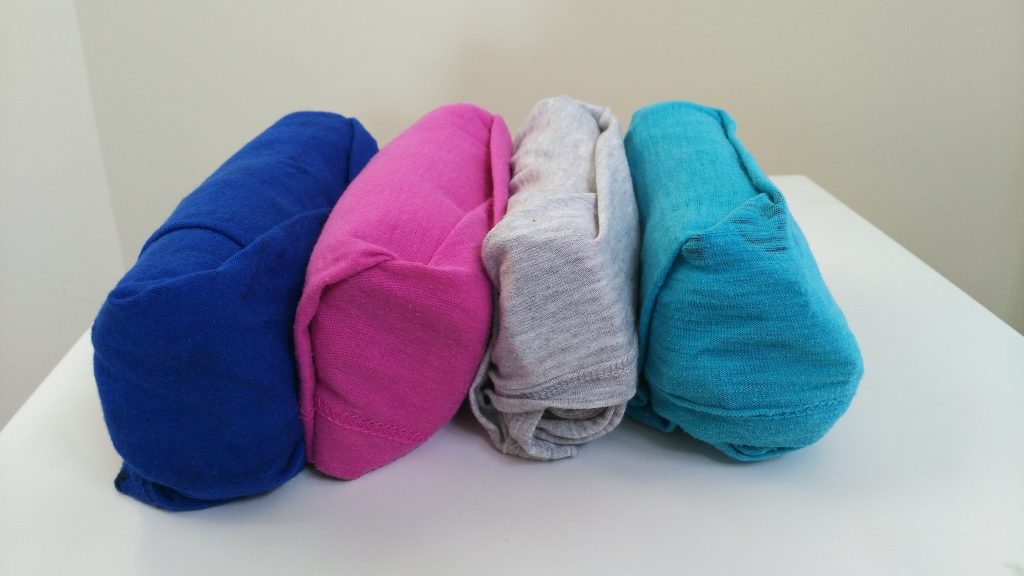
Ranger rolling is a method of rolling clothes so that they tuck into themselves and create a secure packet. This way, they won’t unroll as you take items out to wear and move things around in your bag throughout your trip. You can even ranger roll outfits together. This makes it easy to just grab one bundle and have everything you need to get dressed for the day. Great for organization!

My ranger roll tutorial, complete with photos of each step, is one of the freebies immediately available to you when you subscribe to my bi-weekly email newsletter.
4. Weight Distribution
There are two aspects to what I’m calling “weight distribution”. Firstly, if you are trying to keep your bag under carry-on weight limits there are several factors to think about. Choose a lightweight bag to begin with. This will immediately cut down on weight before you even pack anything. Click here for 5 of my favorite travel bags!
Next, consider the weight of clothes and gear when choosing what to pack. Jeans are heavy, for example. Do you have pants in a lighter fabric you could bring instead? If you’re worried about cold days, bring along a pair of nylons or tights (which take up next to no space or weight) to wear underneath for added warmth. When choosing between similar items, go for the lighter-weight one. Also, wear your heaviest clothes and shoes on the plane to lighten your bag on travel days.
Besides overall weight, you also need to consider how that weight is distributed. When attempting to lighten a bag to meet carry-on requirements, try packing smaller, heavier items in your purse/small backpack/laptop bag rather than your suitcase. That bag is hardly ever weighed in airports. My “small personal item” is often almost equal in weight to my carry-on suitcase! Pockets are also a great place to temporarily stick small, heavy items for flights.
Beyond distributing weight between bags, think about how the weight is distributed within one bag. Rolling suitcases and backpacks are easier to handle if you pack heavier things near the bottom. Top heavy bags are more likely to tip over and will be trickier to roll or harder on your shoulders.
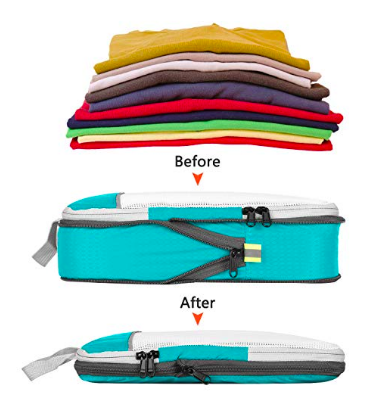
5. Organize in Packing Cubes/Ziplocks/Shelves
Lastly, consider using packing cubes or another in-bag organizational system. Packing cubes are very light, so won’t add much to your bag’s weight. They are great ways to organize clothing to keep everything neat and to easily find what you need. Compression packing cubes even help make your clothes as small as possible so that you can fit more into the same space. I love my Gonex ones 🙂
A cheaper (and waterproof!) alternative is to pack in ziplock bags. Gallon and 2-gallon ones are great for clothes, while quart, sandwich, and snack sized ziplocks are perfect for socks & undies, jewelry, chargers/batteries/memory cards, and, of course, toiletries. Check out my post on ziplock packing for more details.

Other organizational options that make packing and unpacking in multiple destinations a breeze are items such as portable shelves and rolling organizer bags. With both of these styles, you pack in vertical, easy to access sections, then compress or roll them tightly to fit inside your main bag. When you arrive, just pull them out, unroll/unclip, hang, and voila – instant, unpacked, organized travel closet!
By following these five steps, you will have a perfectly packed, organized bag every time! Or use whichever ones apply to your travel style and destination(s). No more excess. No more mess. Just the essentials for a fantastic trip 🙂
*This post includes one or more affiliate links. I earn a small commission (at no extra cost to you!) if you purchase a product or service through one of these links. Find out more here.*
Related Posts:
- 5 Top Tips for Packing Efficiently
- Winter Minimalist Packing Guide
- Packing for 6 Months in a Carry-On Suitcase
Want more from The Global Gadabout? Sign up for the newsletter!
Pin this post for later!