There may be as many ways to pack a suitcase as there are people who pack them. Are you a roller or a folder? Do you save space by tucking socks & underwear into shoes? Are you a packing cube or vacuum packing aficionado? Typically, I’m a long-term, carry-on only traveler. So I’ve tried every single tip and trick I’ve come across to pack more efficiently, organized, and as wrinkle-free as possible. In this post, I want to discuss a perhaps lesser-known method: bundle packing. I’ll tell you exactly how to do it and talk about the pros and cons.
*This post includes one or more affiliate links. I earn a small commission (at no extra cost to you!) if you purchase a product or service through one of these links. Find out more here.*
What Is Bundle Packing?
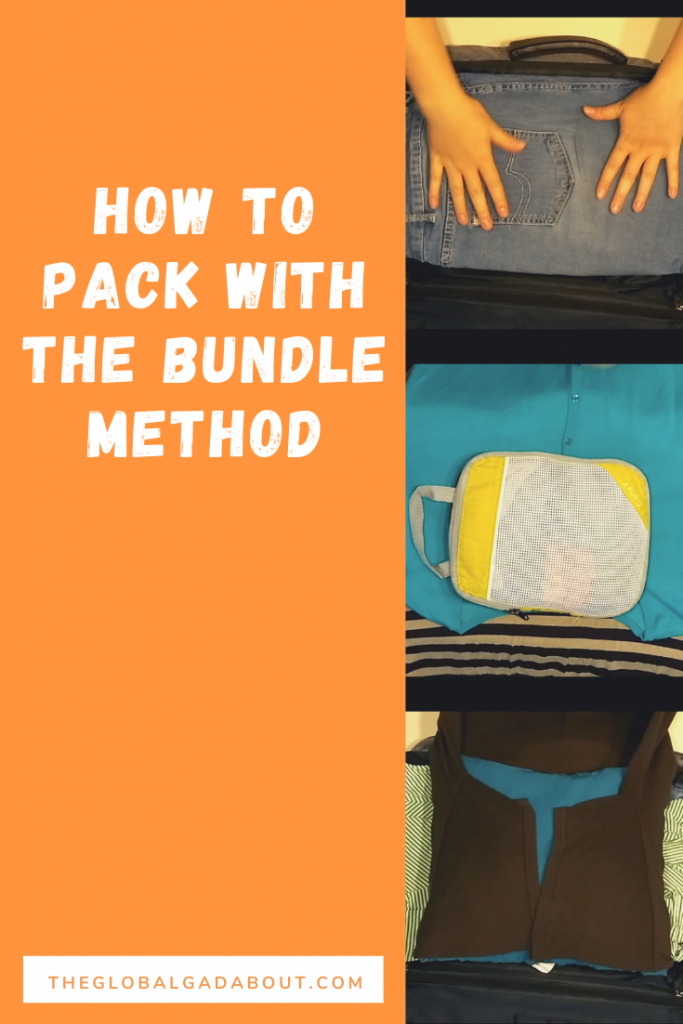
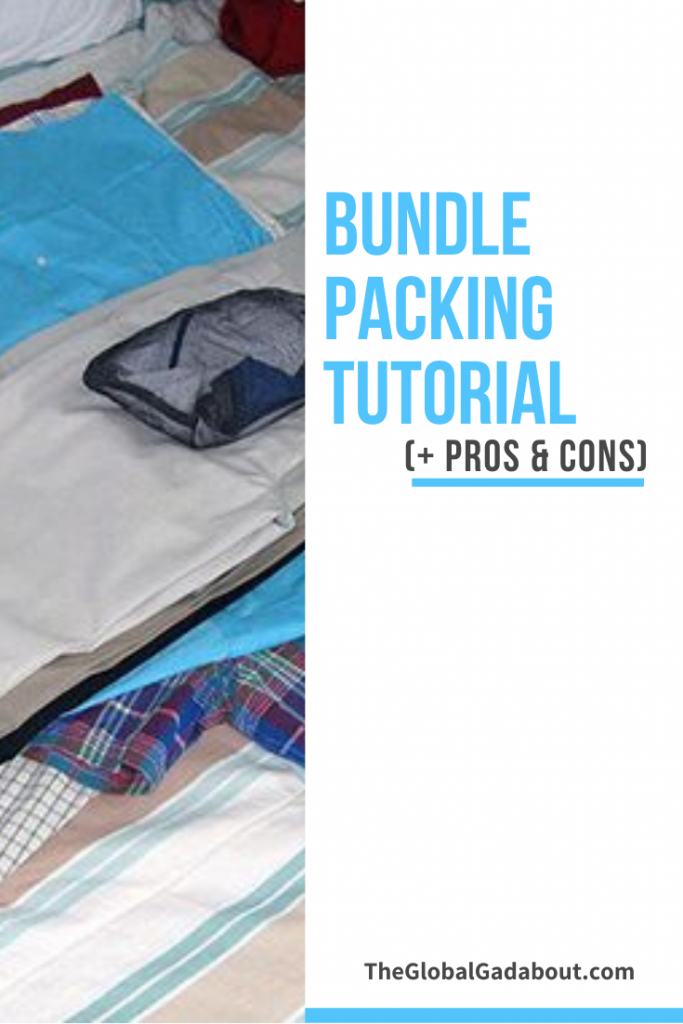
Bundle packing is a system of wrapping your clothes around each other in layers to create a single “bundle”. It’s kind of like that old joke where you give someone a gift in a large box and inside the box is a slightly smaller box, and inside that is another box, and so on, until you finally come across quite a small gift in the middle. So, what exactly does this look like with clothing? Watch this video I created for a visual reference and/or read the written tutorial below!
Bundle Packing Tutorial
- Decide what you would like to be the center of your bundle. This is the “core” you will wrap all your other clothes around.
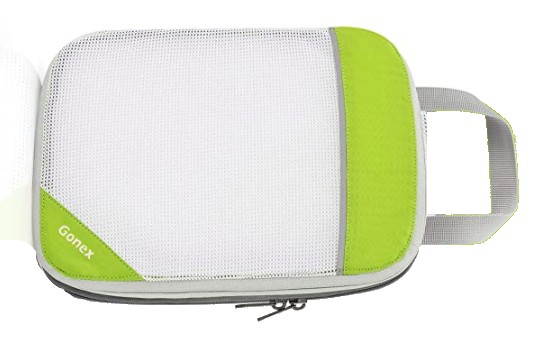
- PRO TIP: I like to put my socks, underwear, and miscellaneous smaller items into a small compression packing cube and use this as my center. Alternatively, you can use a compact pair of shoes, your toiletry kit, or any large, folded piece of clothing (like a sweater or pair of jeans).
- Set your core item aside.
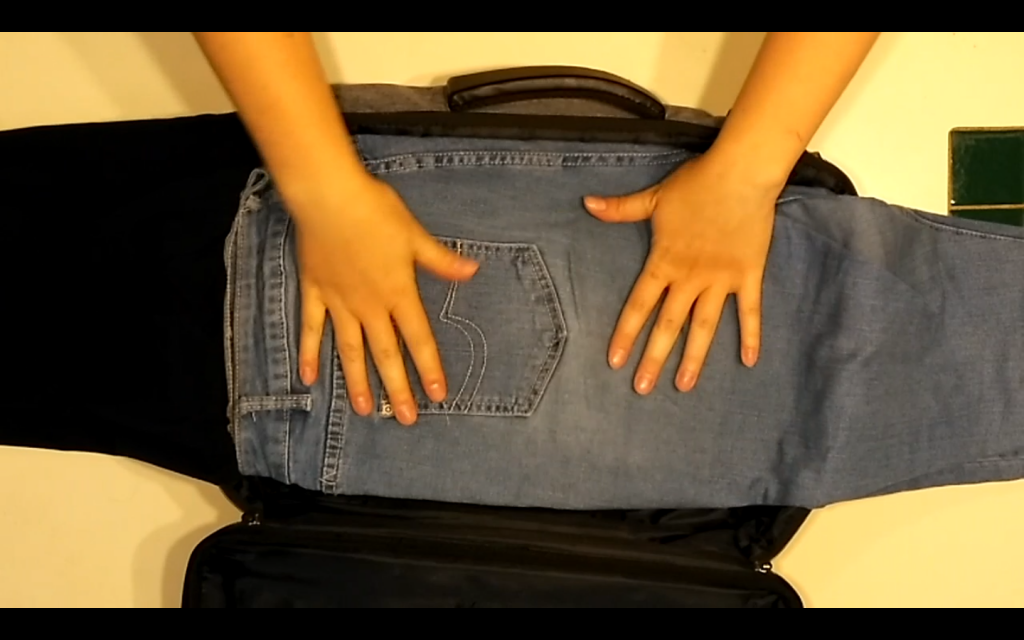
- Choose a pair of pants. Fold them in half length-wise and lay them out flat on a large surface (table, floor…).
- PRO TIP: Create your bundle directly in your suitcase by placing the waistband end of the pants on one side of the suitcase and letting the legs drape over the other side. This works better with a bag you can unzip on at least three sides and open fully.
- Choose another pair of pants, shorts, dress, or skirt. Fold it in half length-wise and place it opposite your first pair. They should overlap the length you want your finished bundle to be.
- PRO TIP: If you are packing directly into your suitcase, place your second item with the top against the opposite side of the bag from your first and let it hang over the other side.
- Repeat with all pants, shorts, dresses, skirts, etc., alternating direction each time.
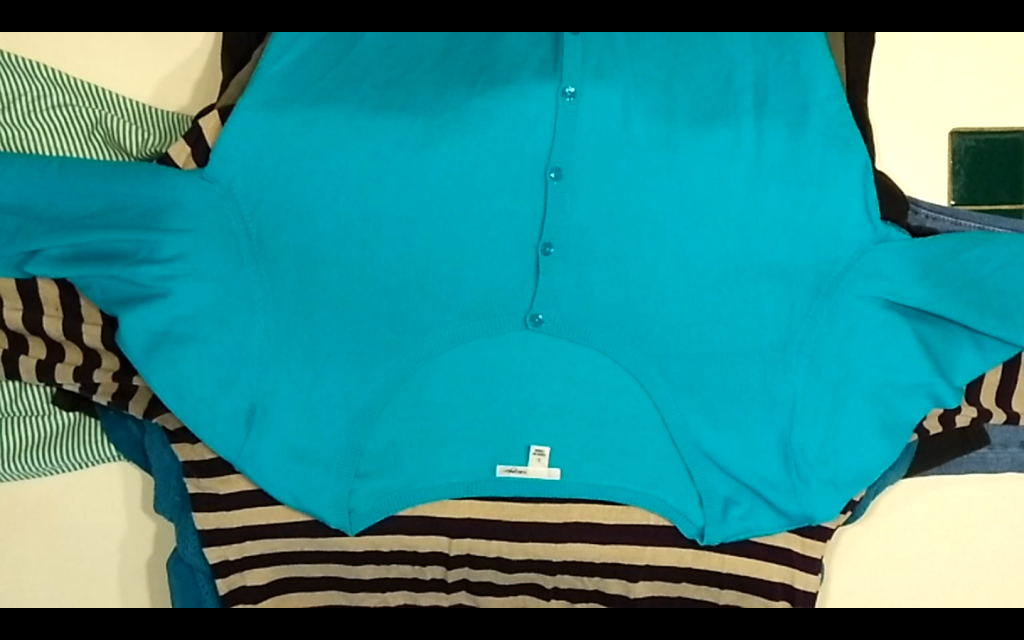
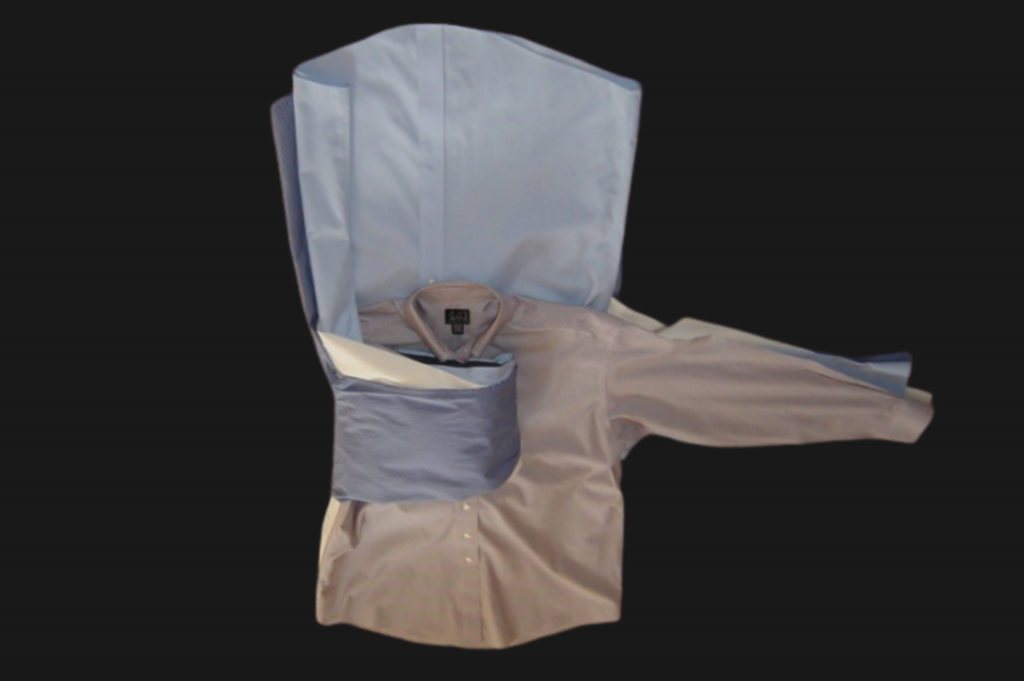
- Choose a shirt. Open it up all the way. Center it on your bundle with the sleeve in line with your pants and the body of the shirt perpendicular.
- PRO TIP: The body of your shirt should drape over the front or back of your suitcase.
- Choose another shirt and lay it out the same as the last one but with the body of the shirt angled the opposite way.
- PRO TIP: You should now have a cross of clothing. If packing into a suitcase, clothes should now drape over all four sides.
- Repeat with all shirts, sweaters, tops, alternating directions each time.
- PRO TIP: You don’t have to do all bottoms and then all tops. You can pack outfits together to “unwrap” each day’s outfit as you go.
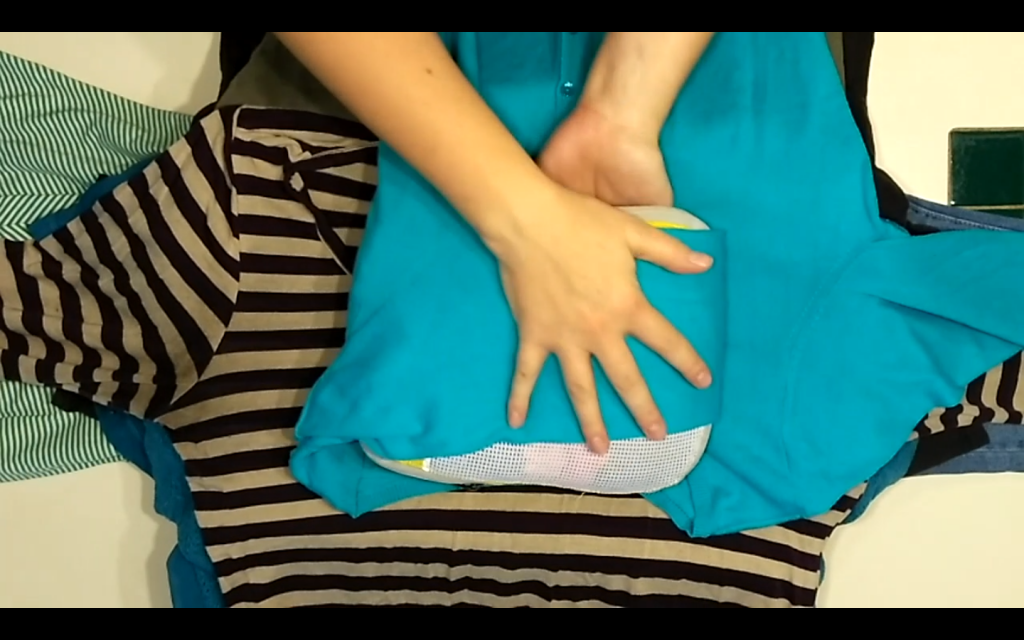
- Place your chosen core item in the center of this crossed pile of clothes.
- One at a time, fold the sleeves and then the body of the top shirt around your core.
- PRO TIP: Tuck sleeves and shirt bodies that are longer than your core underneath the core one at a time to wrap it up neatly.
- Continue to wrap each layer of clothes around the core in the same manner, tucking long ends under, until they are all wrapped up.
- That first pair of pants you laid out should now be the outer “wrapping” of your bundle, keeping all your other clothes neat and secure within.
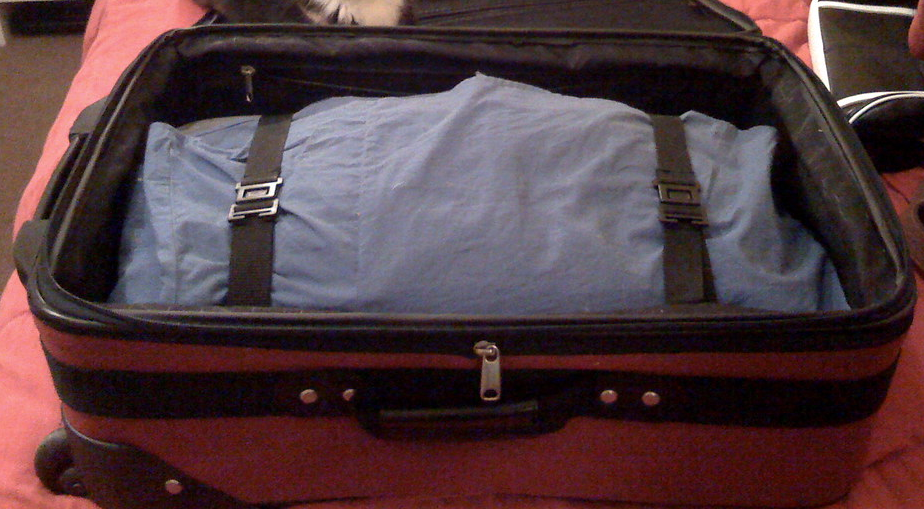
- Place your bundle in your suitcase, zip up, and go!
Variations
- Layer your clothes in any order that works for you!
- Fold all your shirts around the core together instead of wrapping each individually. Same with your pants. This will save “unwrapping” time.
Pros
Tidy Suitcase
Clothes won’t get accidentally unfolded, unrolled, or squished since they are all wrapped up inside one another.
No Wrinkles
Being wrapped tight around each other helps prevent wrinkles. There are also no sharp folds in most items that might create distinct creases.
Space Saving
If you are strategic with the size of your bundle and what you choose as your core, you can use your space efficiently and fit more in your bag.
Cons
Finding One Item
If your toiletry kit, underwear, or even a specific piece of clothing you want is near the center of your bundle, you have to unwrap all the outer layers to get to it.
PRO TIP: This will be easier to manage if you wrap each style of clothing together (shirts together & pants together) rather than wrapping each individual piece separately.
Not Multiple-Stop Friendly
You might have to completely or mostly unpack everywhere you go to get at items in the center of your bundle. You can’t just unpack what you need for that day unless you have planned your outfits carefully and arranged your bundle so each layer is a new day’s outfit. This can get annoying if you have to unpack and repack every few days.
Bulky
Depending on how (and how much!) you pack, bundles can get large and bulky. They may not fit nicely into certain styles of suitcase.
Bottom Line
Basically, this is a great method for travelers who want neat clothing and are only unpacking once. If you have a multi-stop itinerary and will need to wrap and unwrap your bundle every day or two, it’s not very convenient.
Related Posts
- Packing for 6-Months in a Carry-On Suitcase
- 5 Top Tips for Packing Efficiently
- 5 Brilliant DIY Packing Hack
Want more from The Global Gadabout? Sign up for the newsletter and get access to exclusive printable freebies!
Pin this post for later!
